Pilot Profile – Settings > Custom Scenery
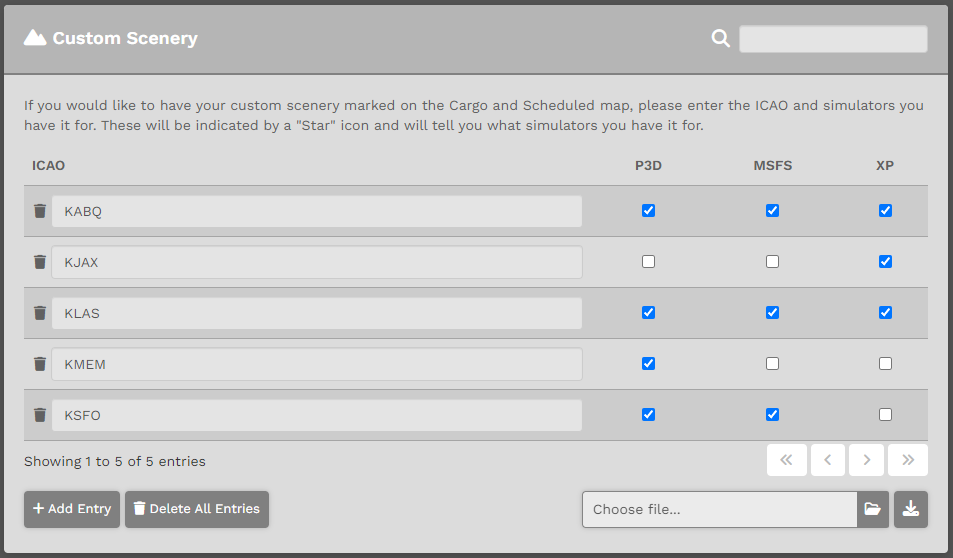
If you would like to have your custom scenery marked on the Cargo and Scheduled map, all you have to do is enter the ICAO and click the appropriate checkmarks. When you are on those maps, the airport for which you own scenery, will be depicted with a 'Star' icon and hovering over that airport will tell you which simulator.

How do I add scenery?
You have two options to add scenery; manual input or CSV upload.
If you only have a few airports, it might be best to simply use the manual process.
Let's walk through the interface and learn how to use it. There is a maximum visible height, and then the scenery list becomes a scrollable box.
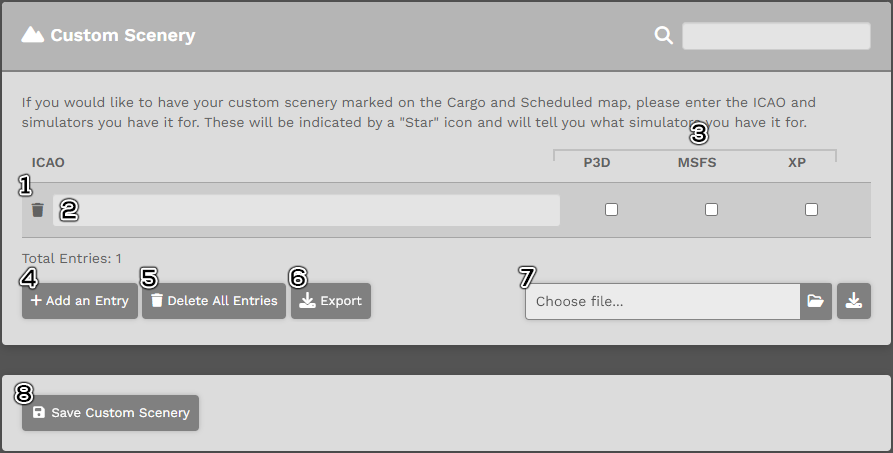
- The "🗑️" next to the ICAO text box will delete that single row.
- The text box is where you will enter the ICAO.
- The check box(s) depict which simulator(s) you have scenery for. This data is transferred to the maps when you hover over the airport.
- The "+ Add Entry" button will add another row to the display. Each row is used to denote an airport, and the simulators (by clicking the checkmarks under each simulator column.
- The "🗑️Delete All Entries" button will remove every row you have, including those that you had imported previous.
- If you wish to export your current list to a CSV, simply click this button. The CSV can also be used to import back into the database if you wish. It is the same file and format structure of the importer.
- Please review the section below titled 'Import by CSV'.
- The "💾 Save Custom Scenery" button is the only method to save your changes, or import a CSV file. If you do not click this button, it will not upload to the database.
- Deleting all rows, and then clicking "Save Custom Scenery" will completely erase your data. We cannot restore it and you will need to start all over.
Import by CSV
We have an upload option supported by a CSV. You simply need to download the CSV template by clicking on the ![]() button to the right of the "Choose file..." box.
button to the right of the "Choose file..." box.
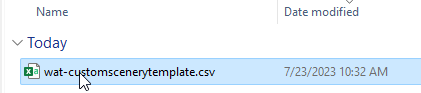
You will download a file called 'wat-customscenerytemplate.csv' that contains a template, and examples of airports.
Please review this animated image on how to work with this file.
The CSV import can support both comma and semi-colon delimiters. Our template comes with a comma delimiter.
Requirements:
- Row 1 must always be the header: icao, p3d, msfs, xp.
- Each simulator columns is either 0 (no) or 1 (yes).
- ICAO column MUST be the ICAO, do not upload airport names.
- You must delete rows 1-3 so that row 1 is the header as indicated in #1 above.
After you have formatted your CSV file, save it to your desktop (or somewhere.)
If you made changes to the airport rows through our manual process, please save that before you do an upload. The upload process only adds or modifies what is in the CSV file, it will not take changes you've done in the interface. Good way to remember this: You either make manual changes and save, or you upload a CSV and save. You cannot do both!
On the user interface, you will want to click on the "Choose file..." box.

Select your CSV file.
The upload box will reflect the filename, and then click "Save Custom Scenery."


If the file is correct, you will be presented with a success message.

If you have airports in your CSV that we do not have, they will be removed during upload and you'll be notified. If these are legitimate airports, feel free to submit a ticket and notify us.

You can then go to Custom Scenery and you should see your list.